How to Tighten Sink Faucet ? A loose sink faucet can be one of the most annoying things in your home. The constant dripping sound and the wobbling of the faucet can drive anyone crazy. But, that’s not all! A loose sink faucet can also cause a waste of water and increase your water bill. Fortunately, tightening a sink faucet is a simple DIY task that can be done in just a few minutes, even if you have no plumbing experience.
In this blog post, we will show you how to tighten your sink faucet in 5 minutes or less. We will guide you through each step of the process, from gathering the necessary tools and supplies to reassembling the faucet. By the end of this post, you will have a perfectly functioning sink faucet and the satisfaction of having completed a simple DIY project. So, let’s get started!
Gather Supplies


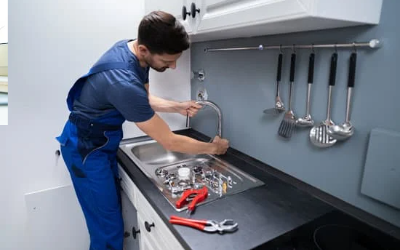
Before we begin tightening the sink faucet, we need to gather the necessary tools and supplies. These items include an adjustable wrench, plumber’s tape, and a rag. An adjustable wrench is essential because it allows you to tighten the mounting nut securely.

Plumber’s tape is also important as it provides a seal that prevents leaks between the threads of the faucet and the mounting nut. Additionally, having a rag on hand will help to clean up any water spills or drips that may occur during the process. By having all these supplies ready, you can save time and work more efficiently.
Turn Off the Water Supply

Before we begin tightening the sink faucet, it’s crucial to turn off the water supply. This step is essential because it ensures that no water will come out of the faucet while you’re working on it, preventing any accidental leaks or spills.

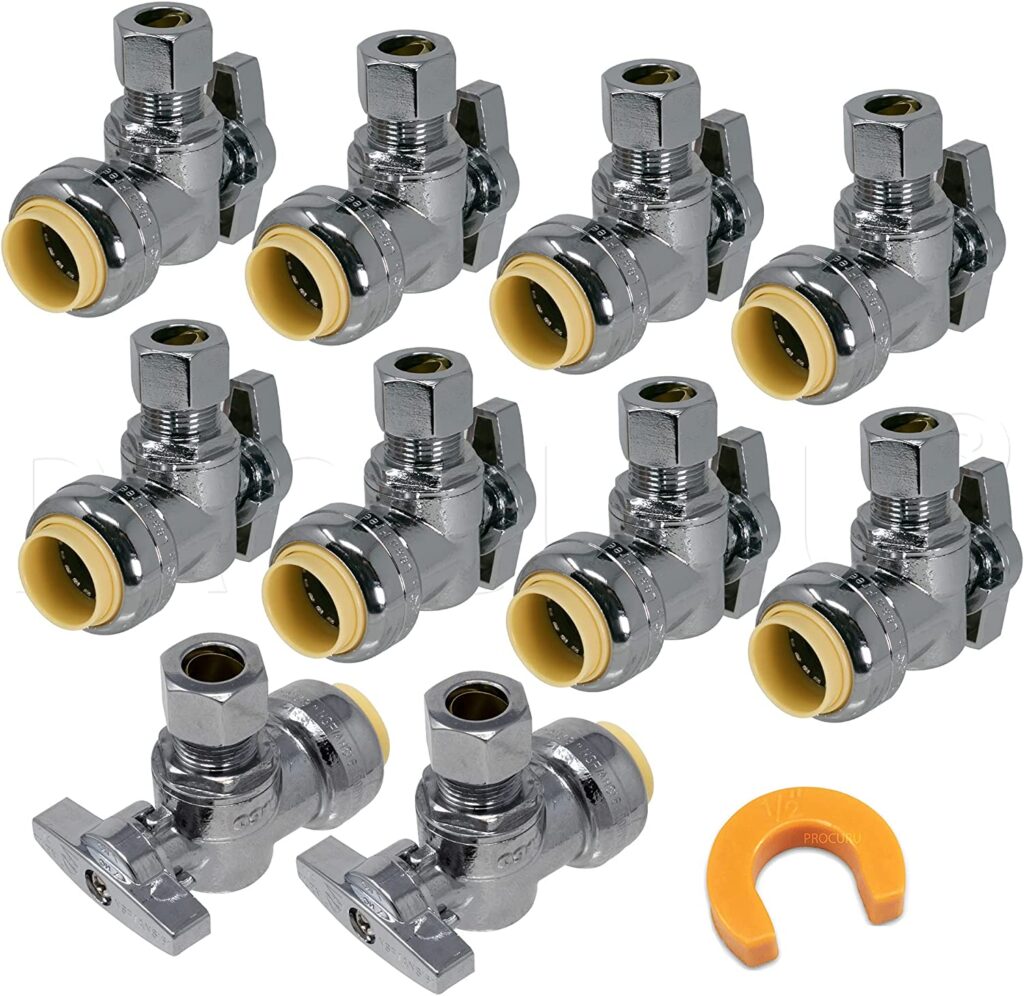
To turn off the water supply, locate the shutoff valve under the sink and turn it clockwise until it stops. If you can’t find the valve under the sink, try looking for it near the main water supply line in your home. Turning off the water supply may seem like a small step, but it can save you a lot of time and trouble in the long run.
Remove the Decorative Cap and Screw

Once you’ve turned off the water supply, it’s time to start working on the sink faucet. The first step is to remove the decorative cap covering the screw that secures the faucet handle.

You can use a flathead screwdriver or a utility knife to carefully pry off the cap. Underneath the cap, you’ll find a screw that needs to be removed with an adjustable wrench. Place the wrench over the screw and turn it counterclockwise to loosen and remove it. Keep the screw and cap in a safe place to avoid losing them. By removing the decorative cap and screw, you’ll be able to access the mounting nut that holds the faucet in place.
Tighten the Mounting Nut

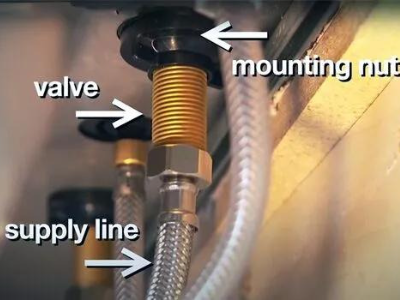
With the decorative cap and screw removed, you can now locate the mounting nut that holds the faucet in place. The mounting nut is located underneath the faucet handle and can be tightened with an adjustable wrench. Turn the wrench clockwise to tighten the nut until it is snug against the sink. It’s important to not over-tighten the nut, as this can cause damage to the sink or the faucet.
Once the nut is tightened, you can add the plumber’s tape to the threads to create a more secure seal. Plumber’s tape is a thin, white tape that can be wrapped around the threads to prevent leaks. Simply wrap the tape around the threads and tighten the nut over it. The plumber’s tape will provide a tight seal between the faucet and the sink, preventing any water from leaking out. With the mounting nut tightened and the plumber’s tape added, your sink faucet should now be sturdy and leak-free.
Reassemble the Faucet

Now that you’ve tightened the mounting nut, it’s time to reassemble the faucet. Begin by reattaching the faucet handle to the valve stem and securing it with the screw you previously removed. Use the adjustable wrench to tighten the screw, being careful not to overtighten it. Once the handle is securely attached, snap the decorative cap back into place to cover the screw.
Finally, turn on the water supply and test the faucet to ensure it’s functioning correctly. Check for any leaks or drips around the base of the faucet or from the handle. If you notice any leaks, turn off the water supply and check the mounting nut and plumber’s tape to make sure they’re properly in place. With the faucet reassembled and properly tightened, you can now enjoy a sturdy and leak-free sink faucet.
How To Fix A Loose Kitchen Faucet Like A Full PR0 (topkitchenlab.com)
In conclusion, tightening your sink faucet is a simple DIY task that can be completed in just a few minutes. By gathering the necessary tools and supplies, turning off the water supply, removing the decorative cap and screw, tightening the mounting nut, and reassembling the faucet, you can easily fix a loose faucet and prevent any potential water damage. Remember to test the faucet after completing the job to ensure it’s functioning correctly.
DIY projects like this one can save you money and give you the satisfaction of learning new skills. So, don’t be afraid to take on small home improvement projects like this one. With a little effort and the right tools, you can tackle many common household repairs and upgrades on your own.


